
Ready for Your Next Construction?

Roof installation is the process of constructing a new roof or replacing an old one. It involves a combination of materials, techniques, and expertise to ensure that the roof is properly installed and provides long-lasting protection for your home. Here’s what the process typically includes:
1. Initial Consultation and Assessment:
Before starting the installation, a roofing professional will assess your home or building’s structure and roof design. This includes:
Measuring the roof: To determine the area that needs to be covered and estimate the amount of material required.
Material selection: Choosing the best roofing material for your needs (asphalt shingles, tile, metal, etc.).
Budget and timeline: Discussing the costs, duration of the installation, and any special requirements you may have.
2. Roof Removal (If Applicable):
If you’re replacing an existing roof, the first step is removing the old roofing material. This includes:
Tearing off old shingles or tiles: The existing roofing material is removed to expose the underlying decking. The decking is inspected for damage, and any compromised areas are repaired or replaced.
Disposing of debris: The old roofing material is safely disposed of, ensuring that no leftover debris remains on your property.
3. Deck Inspection and Repair:
Once the old roof is removed, the roof deck (the base structure of the roof) is inspected for any damage or rot. The decking must be solid and stable to support the new roof. If any areas are damaged, they are repaired or replaced.
4. Underlayment Installation:
A waterproof underlayment is applied to the deck to provide an additional layer of protection against water infiltration. The underlayment is typically made of felt or synthetic material and serves as a barrier between the decking and the final roofing material.
5. Roofing Material Installation:
Once the underlayment is in place, the roofing material is installed. This step will vary depending on the type of roof:
Asphalt Shingles: Shingles are applied in overlapping rows, starting from the bottom edge and working upwards. Each row is carefully nailed into place to ensure they’re secure and watertight.
Metal Roofing: Metal panels or shingles are installed, overlapping each other and secured with fasteners. Metal roofs often require careful installation of seams and flashing to ensure they are watertight.
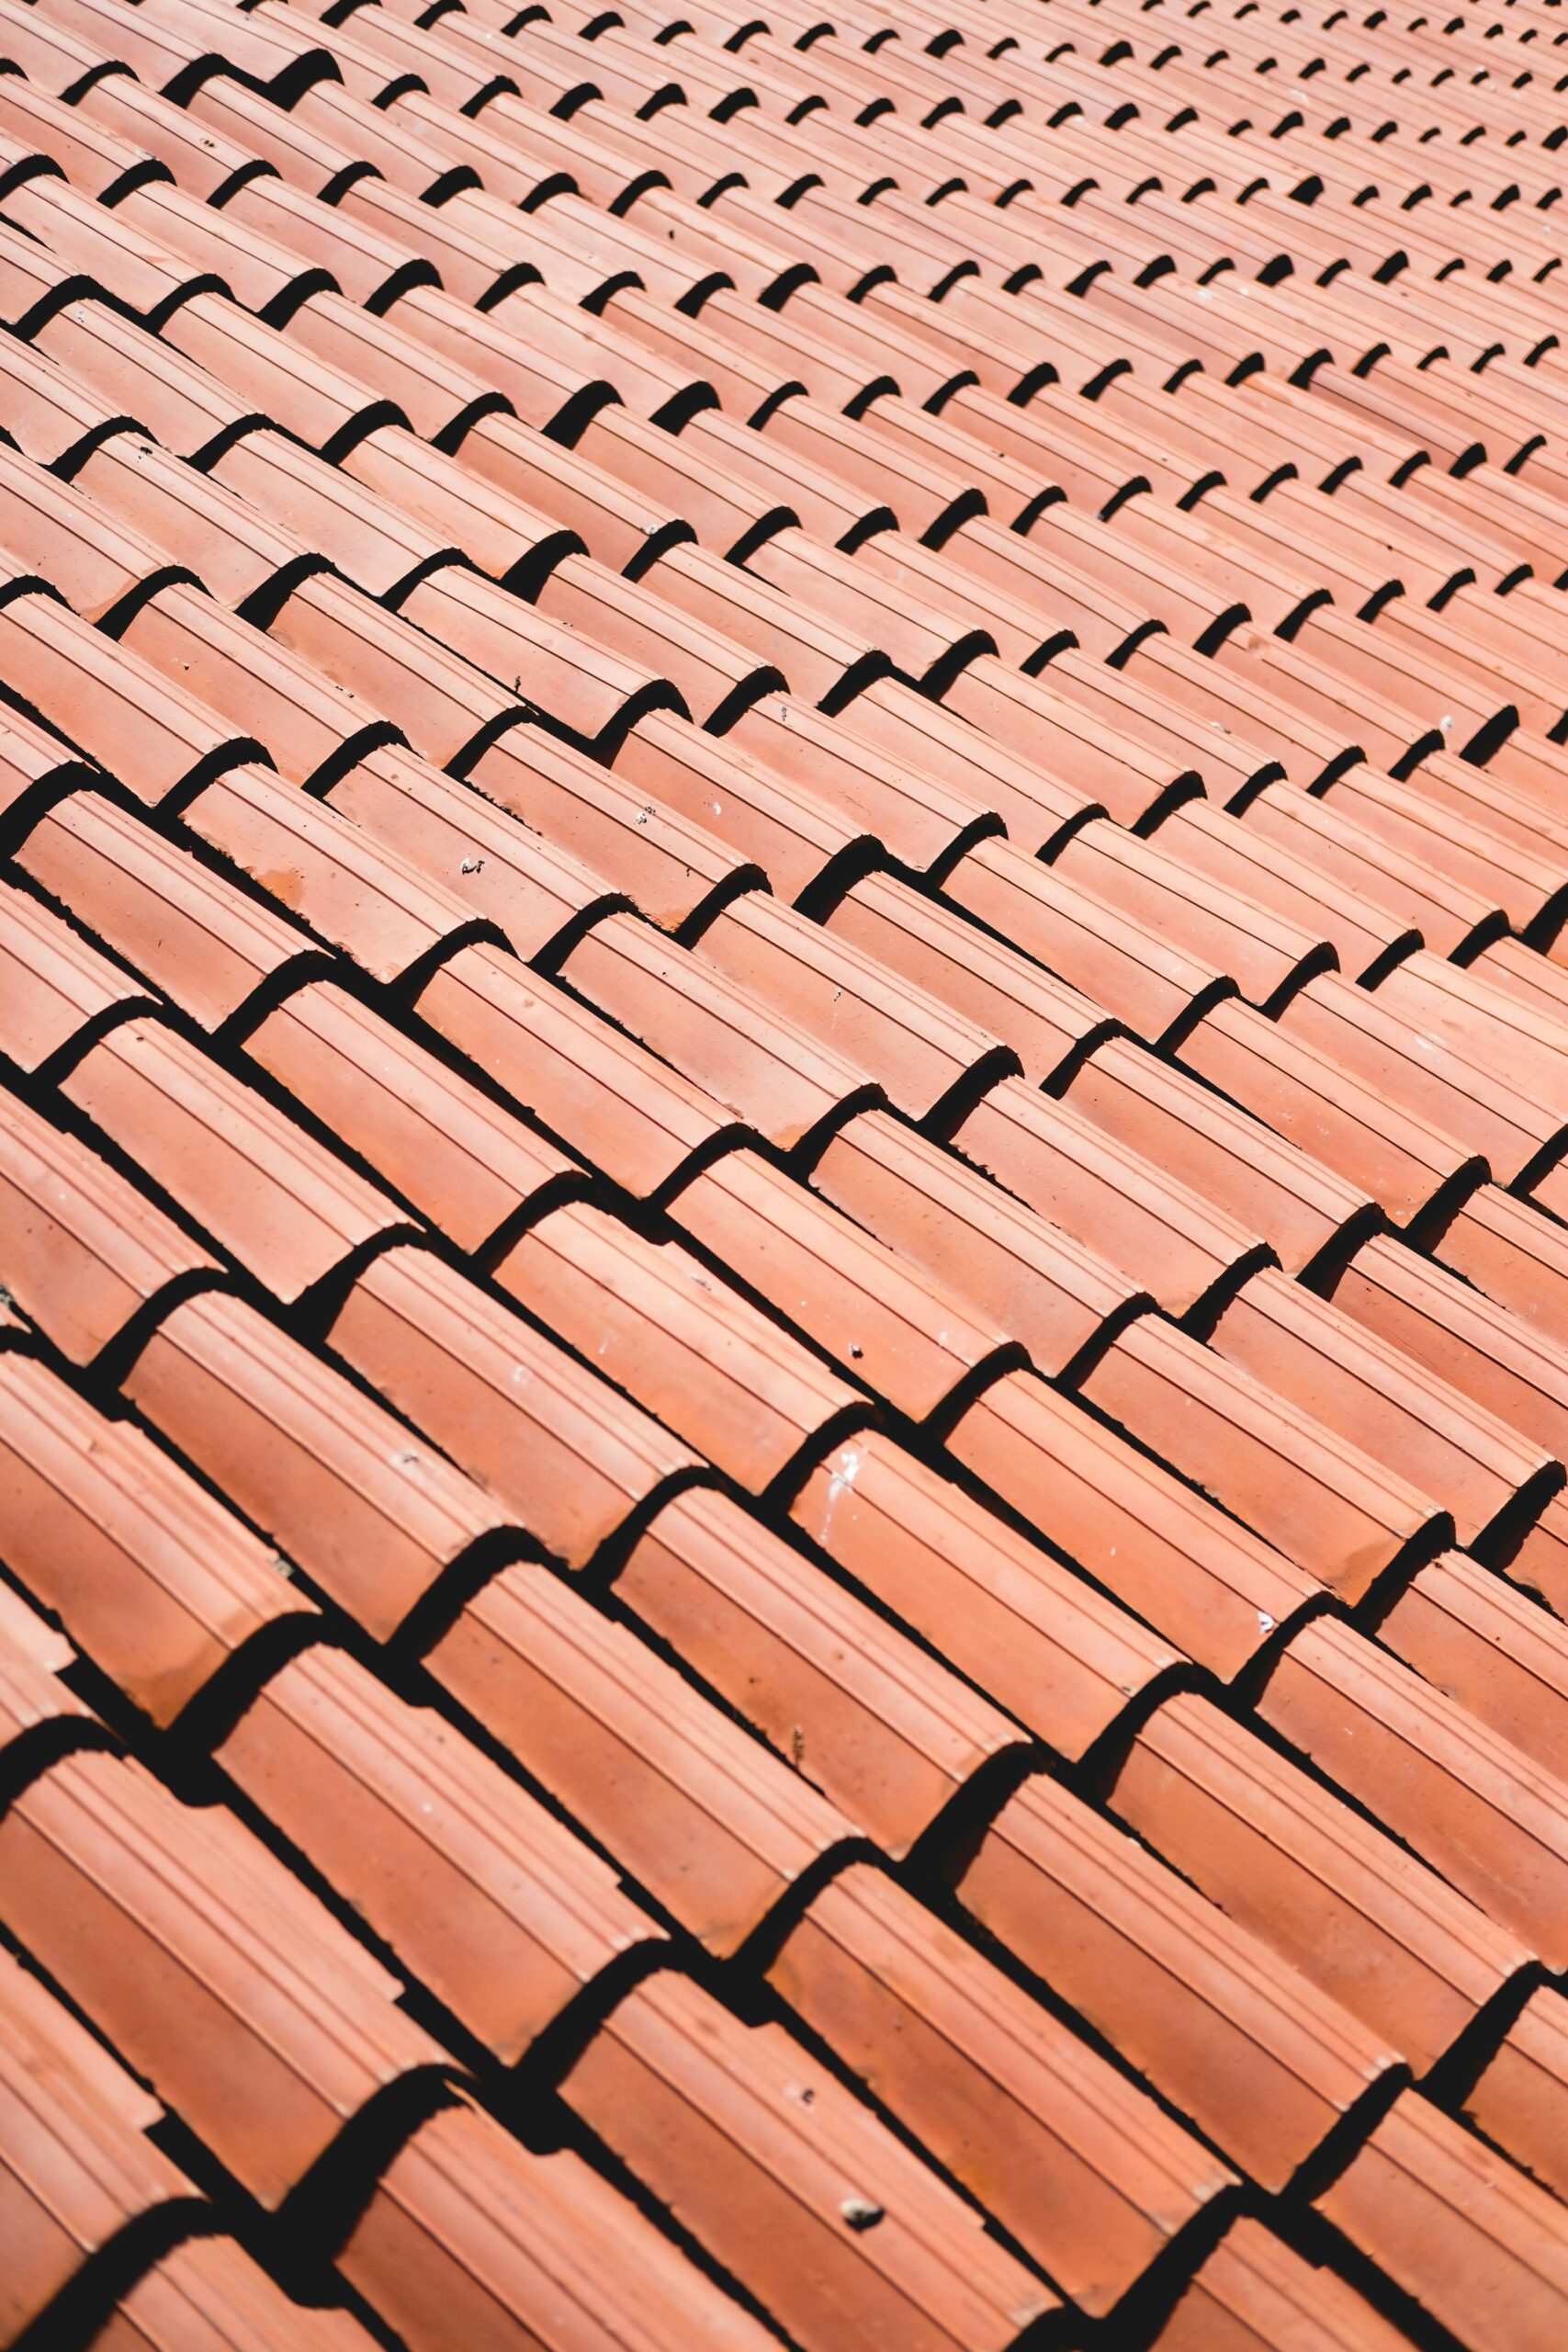
Tile Roofing: Tiles are carefully laid and interlocked to form a uniform, secure surface. Special attention is given to ensure the tiles are properly aligned and sealed.
Wood Shingles or Shakes: These are applied starting from the bottom and working upwards, overlapping each row to create a durable, weather-resistant surface.
Flat Roofing: If you’re installing a flat roof, a single-ply membrane (like EPDM or TPO) or a multi-layer system (like modified bitumen or BUR) is installed. The membrane is sealed and fastened to prevent leaks.
6. Flashing and Ventilation:
Proper flashing around roof penetrations (like chimneys, vents, and skylights) is essential to prevent leaks. Flashing is installed at these points to direct water away from vulnerable areas.
Ventilation: Ensuring that your roof has proper ventilation is crucial to prevent moisture buildup and extend the lifespan of the roof. Ridge vents, soffit vents, or other systems may be installed to allow airflow through the attic space.
7. Ridge Cap Installation:
Once the main roofing material is installed, special ridge cap shingles or tiles are placed along the roof’s ridges (the highest point of the roof). This ensures the roof is sealed at the peak and provides a finished look.
8. Final Inspection:
After the installation is complete, a thorough inspection is performed to ensure that everything is properly installed, sealed, and secure. The roofer will check for:
Proper shingle alignment or tile placement.
Secure fastening of the roofing material.
Proper sealing of seams, flashing, and ventilation areas.
Cleanliness of the work area and removal of any debris.
9. Cleanup and Disposal:
Once the installation is complete, the area is cleaned up, and any leftover materials or debris are removed from the site. This ensures the space is safe and ready for use.
10. Warranty and Maintenance Tips:
Many roofing contractors offer warranties on new roof installations, covering potential issues like material defects or installation errors. Additionally, you may receive maintenance tips to help extend the life of your new roof, such as regular inspections, gutter cleaning, and debris removal.
Roof installation is an essential investment in your home’s protection, curb appeal, and energy efficiency. Whether you’re installing a brand-new roof or replacing an old one, professional installation ensures your roof will last for many years. If you have any questions about the installation process or need help selecting the right roofing materials, feel free to reach out!